Quickstart
Step 1: Install Prefect
pip install -U "prefect>=2.11.6"
See the install guide for more detailed installation instructions.
Step 2: Connect to Prefect's API
Much of Prefect's functionality is backed by an API - if self-hosting, you'll need to start the Prefect webserver and related services yourself, or if you'd rather use a hosted version of the API you can sign up for a forever free Prefect Cloud account.
prefect server start
- Sign in with an existing account or create a new account at https://app.prefect.cloud/.
- If setting up a new account, create a workspace for your account.
-
Use the
prefect cloud loginPrefect CLI command to log into Prefect Cloud from your environment.prefect cloud login
Step 3: Write a flow
The fastest way to get started with Prefect is to add a @flow decorator to any Python function and call its serve method to create a deployment. Flows are the core observable, deployable units in Prefect and are the primary entrypoint to orchestrated work. Deployments elevate flows to remotely configurable entities that have their own API, as we will see shortly.
Here is an example flow named "Repo Info" that contains two tasks, which are the smallest unit of observed and orchestrated work in Prefect:
import httpx
from prefect import flow, task


@task(retries=2)
def get_repo_info(repo_owner: str, repo_name: str):
    """Get info about a repo - will retry twice after failing"""
    url = f"https://api.github.com/repos/{repo_owner}/{repo_name}"
    api_response = httpx.get(url)
    api_response.raise_for_status()
    repo_info = api_response.json()
    return repo_info


@task
def get_contributors(repo_info: dict):
    contributors_url = repo_info["contributors_url"]
    response = httpx.get(contributors_url)
    response.raise_for_status()
    contributors = response.json()
    return contributors


@flow(name="Repo Info", log_prints=True)
def repo_info(repo_owner: str = "PrefectHQ", repo_name: str = "prefect"):
    """
    Given a GitHub repository, logs the number of stargazers
    and contributors for that repo.
    """
    repo_info = get_repo_info(repo_owner, repo_name)
    print(f"Stars 🌠 : {repo_info['stargazers_count']}")

    contributors = get_contributors(repo_info)
    print(f"Number of contributors 👷: {len(contributors)}")


if __name__ == "__main__":
    # create your first deployment
    repo_info.serve(name="my-first-deployment")
Notice that we can write standard Python code within our flow or break it down into component tasks, depending on the level of control and observability we want.
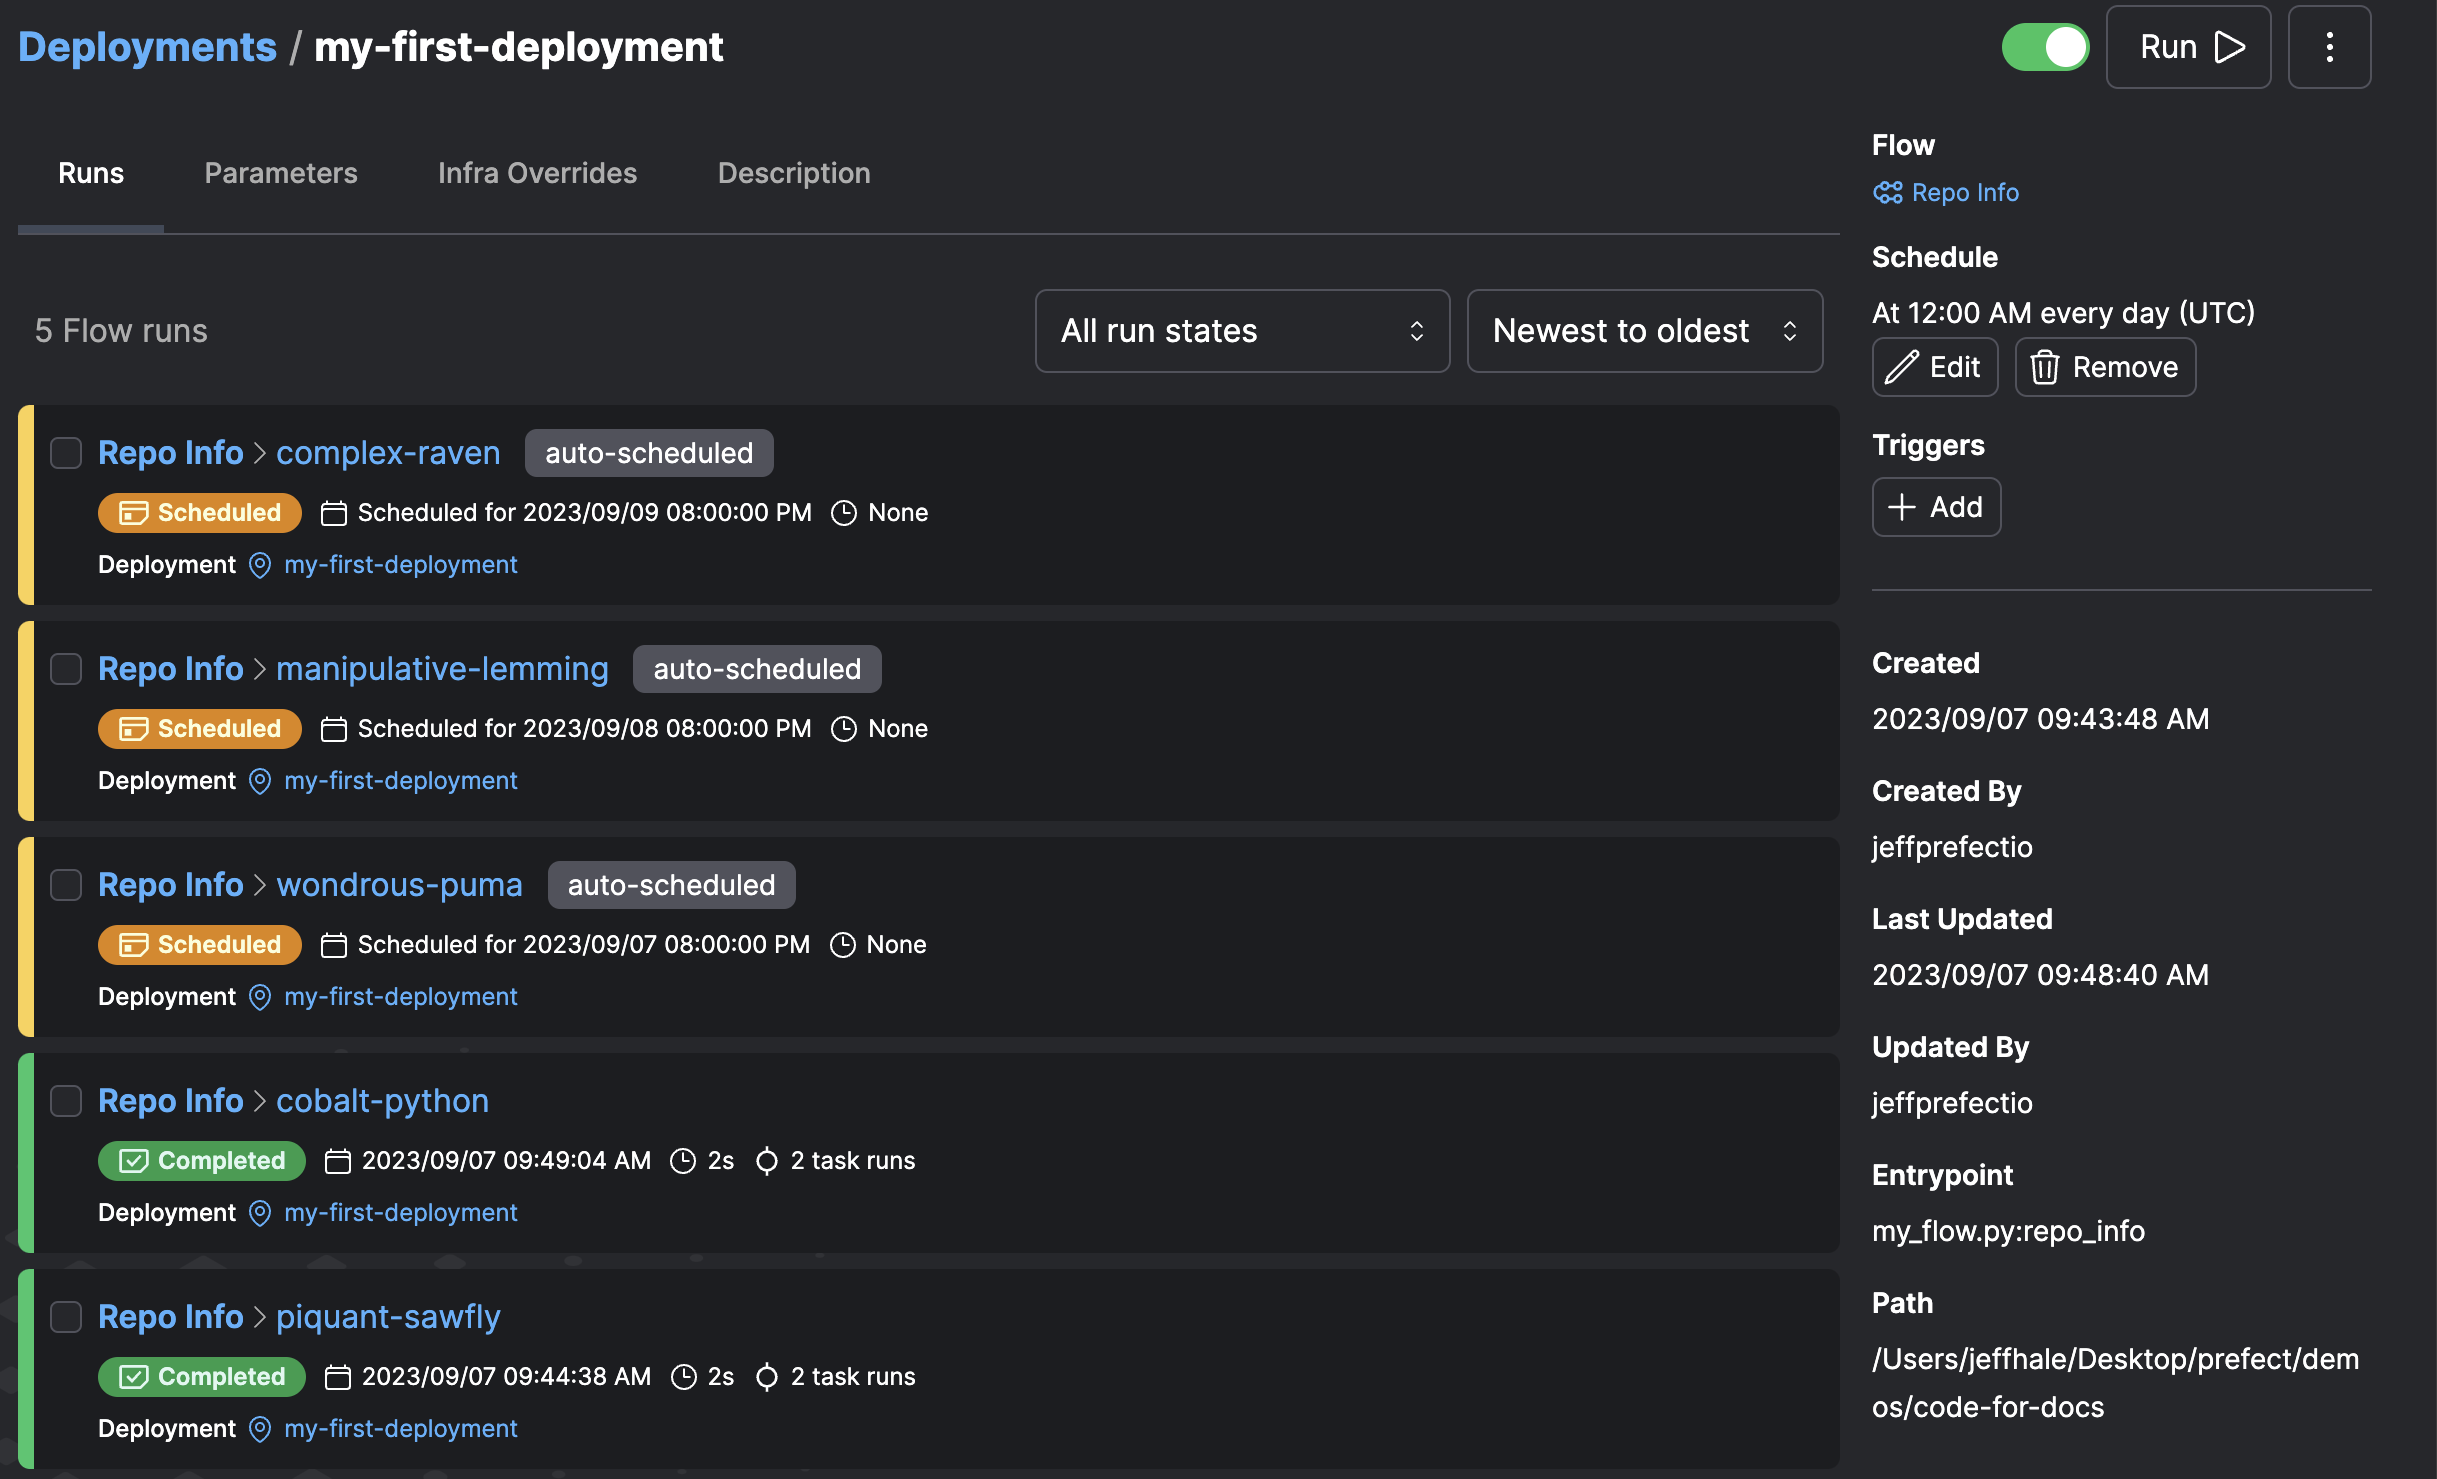
Step 4: Create a deployment
When we run this script, Prefect will automatically create a flow deployment that you can interact with via the UI and API. The script will stay running so that it can listen for scheduled or triggered runs of this flow; once a run is found, it will be executed within a subprocess.
python my_flow.py
You should see a link directing you to the deployment page that you can use to begin interacting with your newly created deployment!
For example, you can trigger a run of this deployment by either clicking the "Run" button in the top right of the deployment page in the UI, or by running the following CLI command in your terminal:
prefect deployment run 'Repo Info/my-first-deployment'
This command creates a new run for this deployment that is then picked up by the process running repo_info.serve.

Getting started tips
- You can call your flow function directly like any other Python function and its execution will be registered and monitored with the Prefect API and visible in the UI
- Flows can be called inside of other flows (Prefect designates these "subflows") but a task cannot be run inside of another task or from outside the context of a flow
- Elevating a flow to a deployment exposes a Prefect-backed API for remotely managing and configuring your workflow with things such as scheduling rules, trigger rules, and cancellation
- Deployments require that flow functions are defined in static files, and therefore calling the
servemethod on an interactively defined flow will raise an error
Step 5: Add a schedule
We can now configure our deployment as we like - for example, let's add a schedule to our deployment. We could do this in one of two ways:
- use the Prefect UI to create and attach the schedule
- specify the schedule in code
It's generally best practice to keep your configuration defined within code, so let's update the script above to specify a schedule:
if __name__ == "__main__":
    # create your first scheduled deployment
    repo_info.serve(name="my-first-deployment", cron="* * * * *")
Once run, this will create a cron schedule for our deployment that instructs it to run every minute of every day. When you stop this script, Prefect will automatically pause your deployment's schedule for you.
Next Steps
To learn more, try our tutorial and guides, or go deeper with concepts.
Need help?
Get your questions answered by a Prefect Product Advocate! Book a Meeting